Websites
Set up your customer-facing website: its address, plan, provider, branding and languages. Choose who can register and check everything before inviting customers.
A hosting website is the address where your customers sign in to the monitoring service. They see your brand, work with their devices and, when enabled, register and top up their balances themselves.
The administrator portal and the customer website are separate interfaces. Websites in the portal manages the customer-facing sites. The setup wizard has already created your first website: start with that one rather than creating another unnecessarily.
Find and open a website
The list shows each website's name, domain and assigned plan. Click its name to open its settings. The Action menu provides links to open the customer website, manage its settings or delete it.
Use the name, domain or plan filters when managing several sites. Each website can have its own branding, provider and plan for new customers.
Our examples use the fictional Northline GPS service, Northline Telematics provider and Fleet plan at EUR 5 per device per month. The addresses and contacts are demonstration data, not services you should register with.
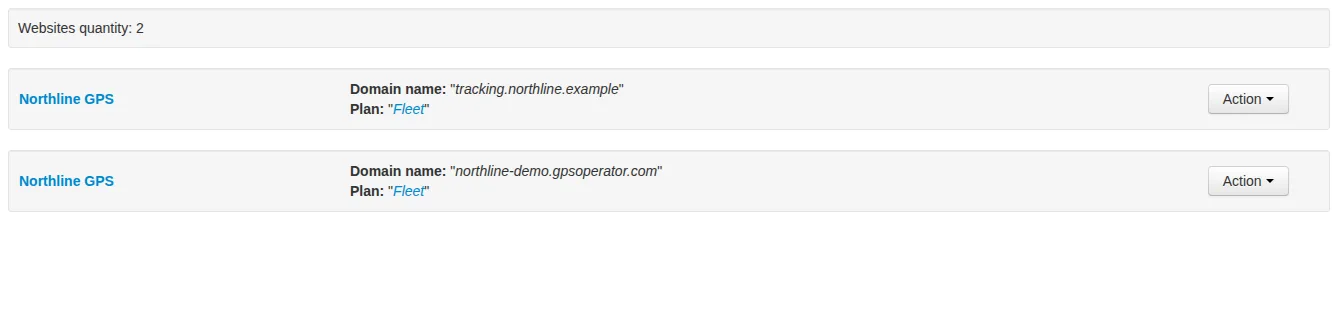
Two demonstration websites share one plan. Listing a domain here does not confirm its DNS setup.
Create another website
The Create new website form is on the right, below the search form. You need an existing company or individual and a customer plan.
Complete these fields:
- Website name: a recognizable name for your service.
- Domain type: a
gpsoperator.comaddress or your own domain. - Domain name: the hostname without
http://,https://, a path or query parameters. - Plan: the conditions assigned to customers who register themselves on this website.
- Company: the provider assigned to those customers.
- Allow free registration: whether visitors can create their own accounts.
For a platform address, enter an available name such as northline-demo to obtain northline-demo.gpsoperator.com. For your own domain, enter the full hostname, for example tracking.northline.example. This is only a sample address.
Click Create, then check that the website appears in the list. A domain already registered in the platform cannot be added again: check the spelling and your existing websites.
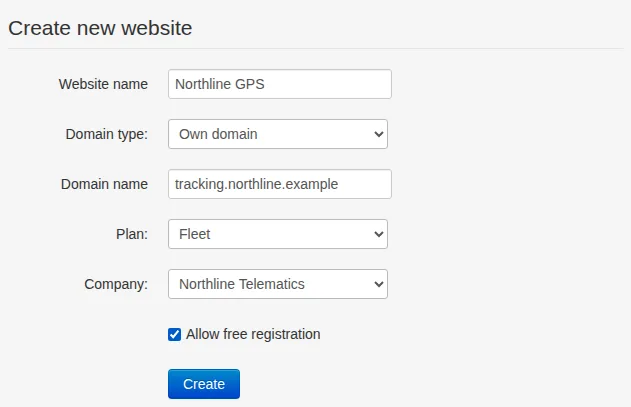
Creating an additional website on a custom domain. Skip this if the website created by the wizard already meets your needs.
Your own domain and HTTPS
Adding a domain in the portal does not purchase it, change its DNS records or issue an SSL certificate. These are separate parts of the setup.
Before inviting customers, contact support to confirm how to connect your chosen domain, where to point its DNS and how HTTPS will be provided. Do not reuse an IP address from an old guide without checking. The current portal does not automatically issue a certificate when you click Create.
Test the actual address you will give customers. It must open the correct website, and HTTPS must work without a certificate warning. Do not ask customers to bypass that warning.
When editing an existing website, retain the full hostname, including .gpsoperator.com for a platform address. Changing the hostname does not create a redirect from the old address: agree on the change first and update the links your customers use.
Add your branding
Open the website settings. The Edit website form on the right lets you change its name, address, plan, company and registration setting, as well as its appearance:
- Logo: PNG or JPG, up to 500 KiB. Use a compact image that remains readable at a small display height.
- Website icon: PNG or ICO, up to 25 KiB. This is the small favicon used in the browser tab.
- Title: the browser tab title, for example Northline GPS.
- Header: the text above the sign-in form.
- Footer left / right: text at the bottom of the page. Our example uses the company name and support email address.
- Link to main website: a link to your corporate website. Leave it blank if you do not need one yet.
The link field has a legacy limitation: the interface adds http:// and does not handle an entered https:// correctly. If this link must use HTTPS, leave the field blank for now and contact support. Do not paste a full HTTPS URL expecting it to be preserved correctly.
Click Edit below this form. Check the saved text and images in the website settings, then open the customer sign-in page. An unsuitable image file may be rejected without an error message, so verify that the image actually changed.
Website names, headers and footer text are your own content. They are not translated automatically when a visitor changes language. For an international audience, use suitable shared branding and contacts, or configure separate websites.
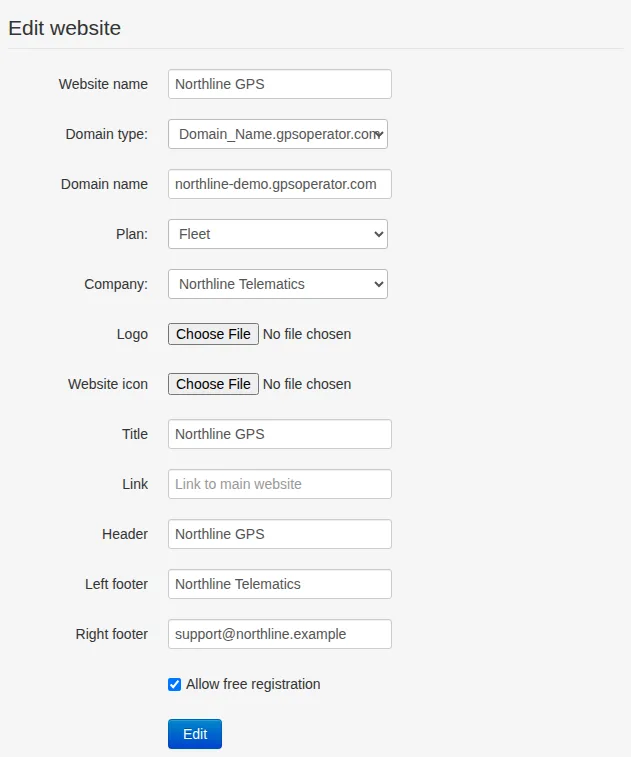
Save branding with the upper Edit button. No logo or favicon has been uploaded in this example yet.
Languages and visible sections
Below the branding form is a separate Display settings form with its own Edit button. Saving the upper form does not save the lower one, or vice versa.
A checkbox here usually means hide or disable, not enable. You can hide menu entries, balance information and reference pages, or disable top-ups and currency changes. In our example, currency changes are disabled while the finance section and top-ups remain available.
Do not hide device settings if customers need to configure devices themselves. Keep finance and top-ups available if you expect self-service payments. Hiding menu items is not a substitute for configuring access rights to data and devices.
At the bottom, choose a Default language: a specific language or From browser settings. Checkboxes under Forbidden languages exclude the selected languages from the language choices; they are not a list of languages to enable. Keep your default language allowed. For an initial setup, it is simpler to leave all languages allowed and select the default you need.
A visitor's previously saved language choice may take precedence over the default. Test a first visit in a private browser window. The customer website's language does not change your administrator portal language, plan currency or hosting settlement currency.
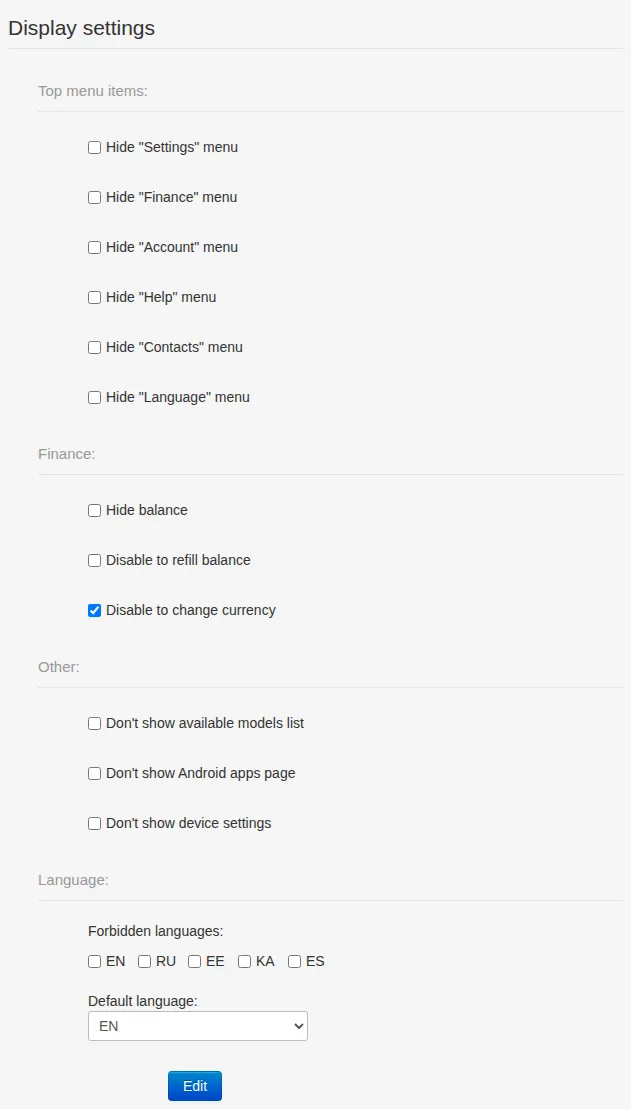
The selected checkbox disables currency changes. Finance and top-ups remain available; the default language is English.
Registration and plan assignments
Free registration enabled: visitors create their own accounts. They receive this website's company and plan, with their initial currency taken from that plan.
Free registration disabled: the administrator adds new customers through Users. Disabling this checkbox does not delete or block existing customer accounts.
Here, “free registration” means open self-registration, not free monitoring. Device usage is charged under the customer's assigned conditions.
Changing the plan or company in the website settings does not reassign them for all existing customers. Check individual customer assignments separately. Editing prices within the plan itself is a different operation, covered in Plans and Pricing.
The legacy website summary may still label prices as “rub.” even for a non-RUB plan. Check the currency and prices in the plan itself; this label does not mean that the amount was converted to rubles.
Deletion and launch checks
Deleting a website requires confirmation in its action menu. A site with assigned customers cannot be deleted. Do not delete customer accounts just to remove a website: work out how those customers will be served first. Deleting an empty website does not also delete its company or plan.
Before sending the address to your first customer:
- Open it in a private window and check the hostname and HTTPS.
- Check the branding, title, contacts and language.
- Confirm that self-registration is available or hidden as intended.
- Check the plan, currency and company assigned to a separate test customer.
- Sign in as that customer and check the required settings and top-up options.
The next stage is adding customers and assigning their service conditions.
Related articles
Getting Started
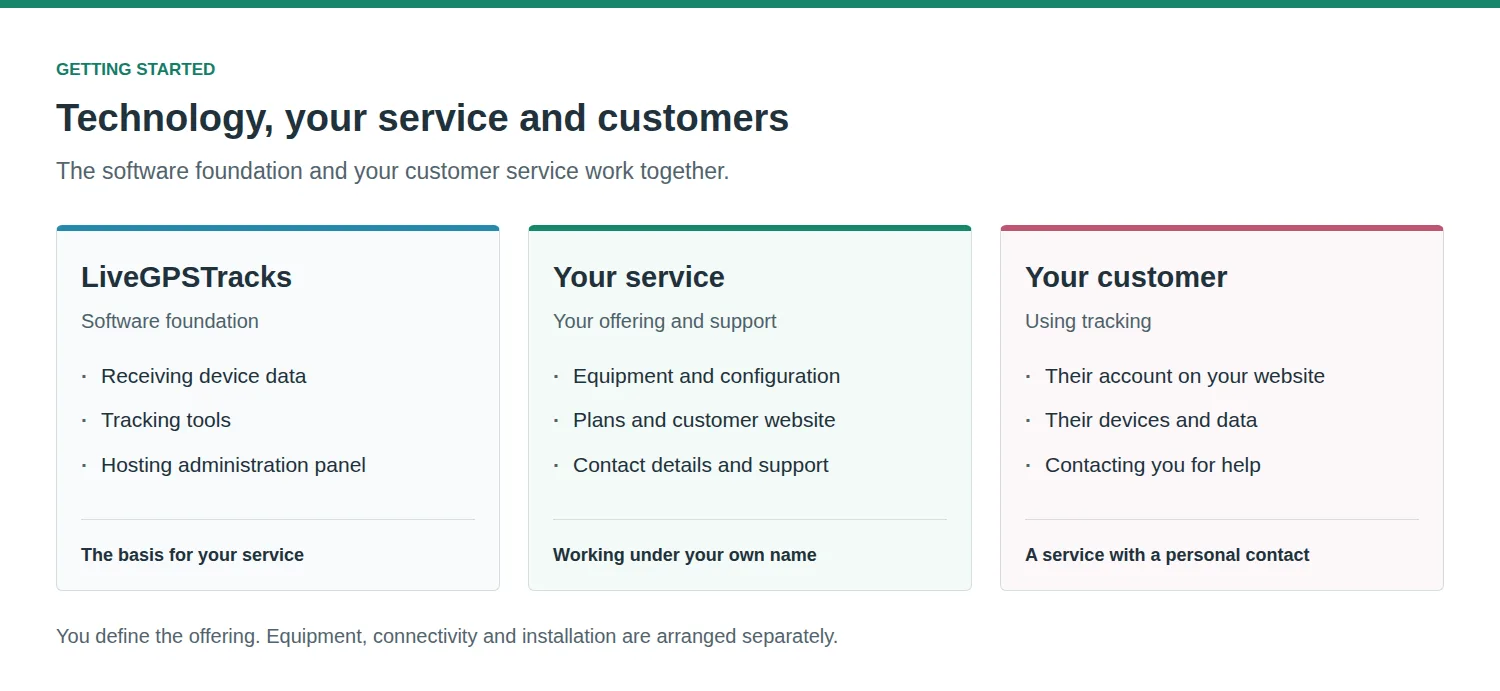
Build a GPS tracking business around equipment, installation and customer support. Understand your role, the platform's role and how your service fits together before you begin setup.
Companies and Individual Providers
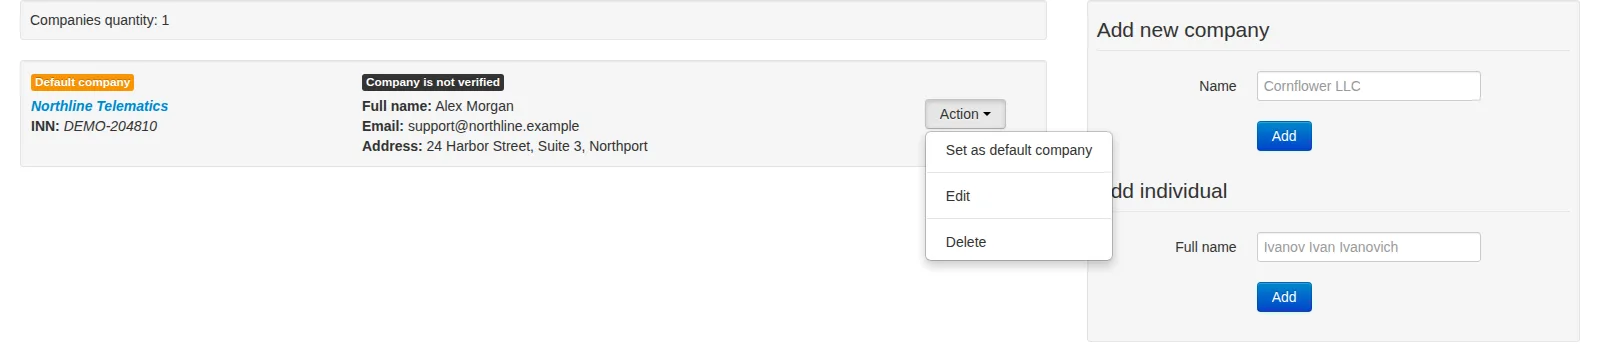
Manage service provider records, customer-facing contacts, default assignments and company verification without confusing them with customer accounts or payout details.
Administrator Guide: Contents
From your first website to everyday customer management: find the chapter you need to run your GPS tracking service.
First-time Hosting Setup
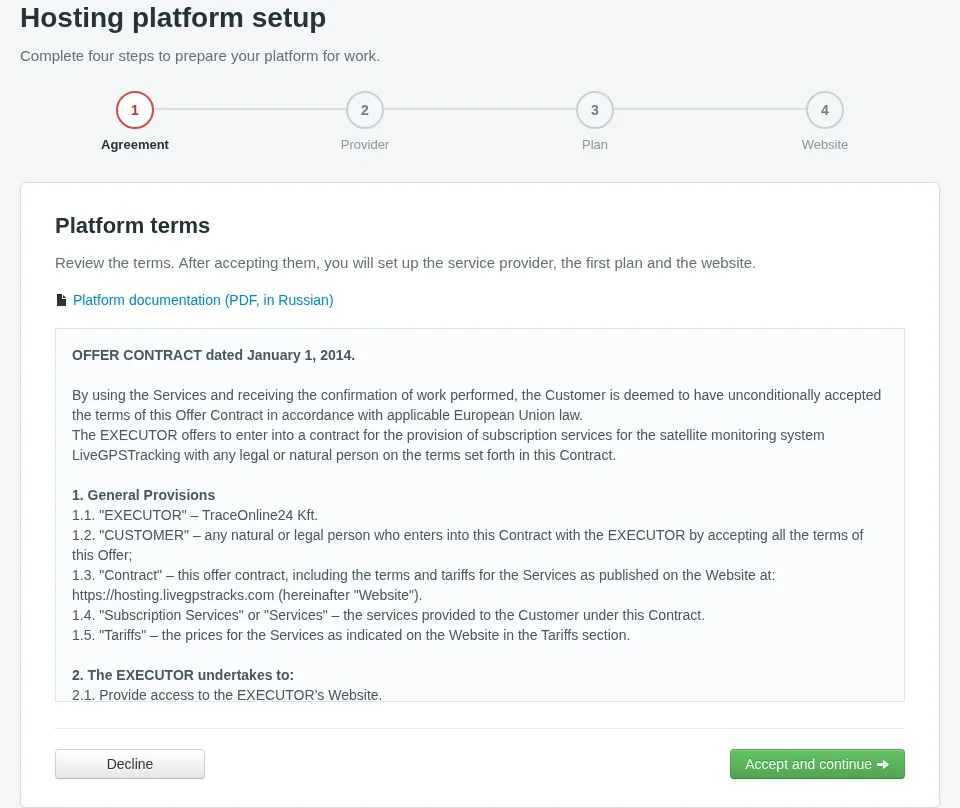
Follow the wizard from the agreement to your first website: enter provider details, set a customer plan and choose your next step.
Comments
Sign in to comment.
No comments yet.